Showing posts with label DIY. Show all posts

Tuesday, June 11, 2013

Bathroom Essentials

This was an unnecessary detail that I HAD to do!


The girl version

The boy version


Then we (again I) added little scrabble pieces to MAKE SURE NOBODY could get confused on whose box was whose. 

I don't know how much these were necessarily used by our guests, but I will say Damon and I have tapped these goods quite often over the last year! After the wedding, we left each of these in our guest bathroom and there were a handful of times that we ran out of certain things (contact solution, bandaids, wrinkle releaser) and we were happy to have back up. Not to mention, these were all mini versions of the essentials, so they have been used any time we travel and of course are available for any guests we have over (first and foremost! :))

.ray.


Friday, June 7, 2013

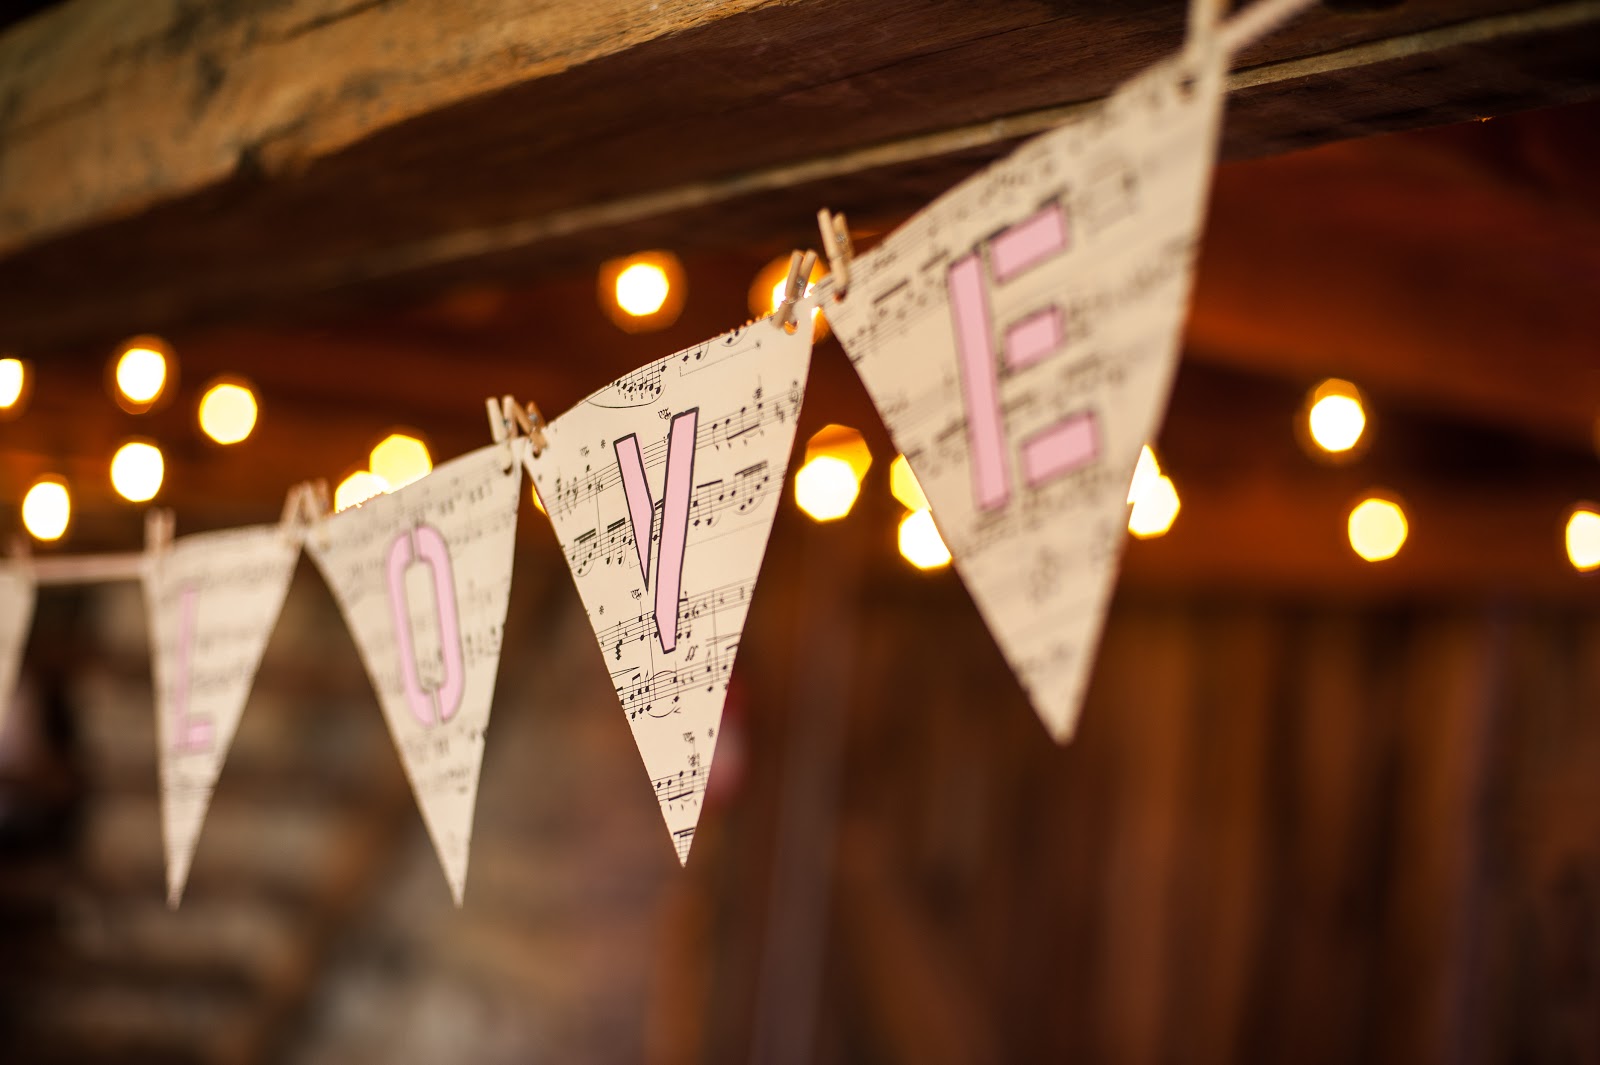
Pennant Banners


I picked up these stencils from Michaels. 
I first outlined each letter on the music note pennants in pencil, then painted in the lines.


 Afterwards, I took a thin-tip black marker and outlined the letters so they were a little more pronounced.


I then ran lace ribbon along the flags and pinned them with little mini clothespins. 

(from the wedding)

(from the wedding)
.ray.


Last Minute Photo booth

I begged and pleaded for a photo booth at the wedding, but Damon told me it wasn't in the budget. I had come to terms with it in the days leading up to the wedding, but when we started to set up the venue-SOMEHOW-a make shift do it yourself photo booth/backdrop area was formed. 
If there is a will there is a way! You don't have to spend hundreds of dollars to get a photo booth, just grab some interesting furniture, decorations, or rent from swoon :). 
It was a hit.


.ray.


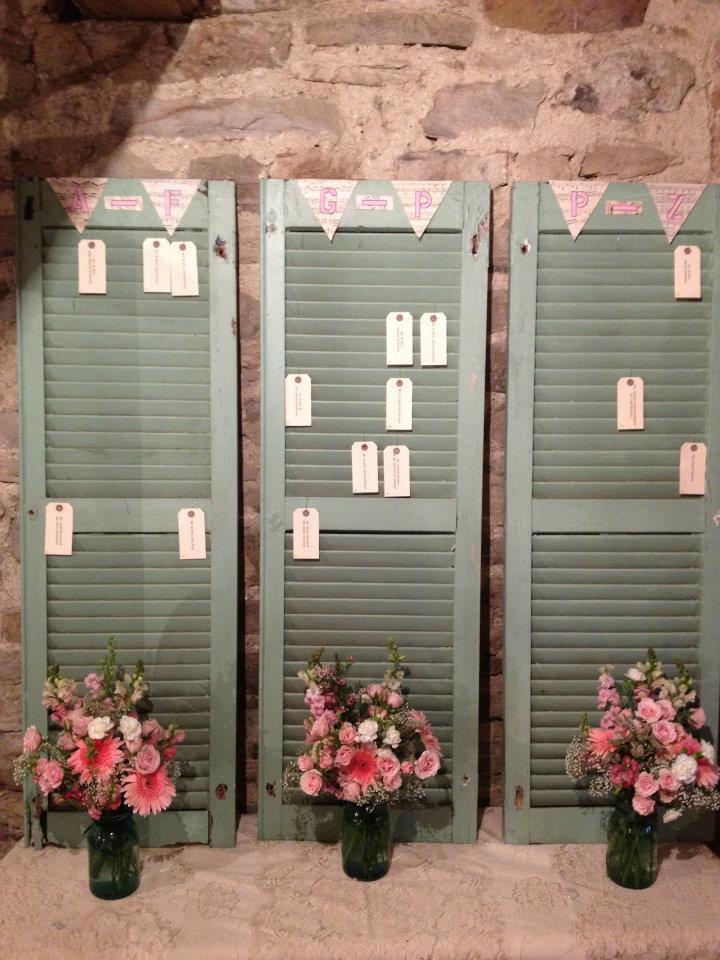
Seating Chart

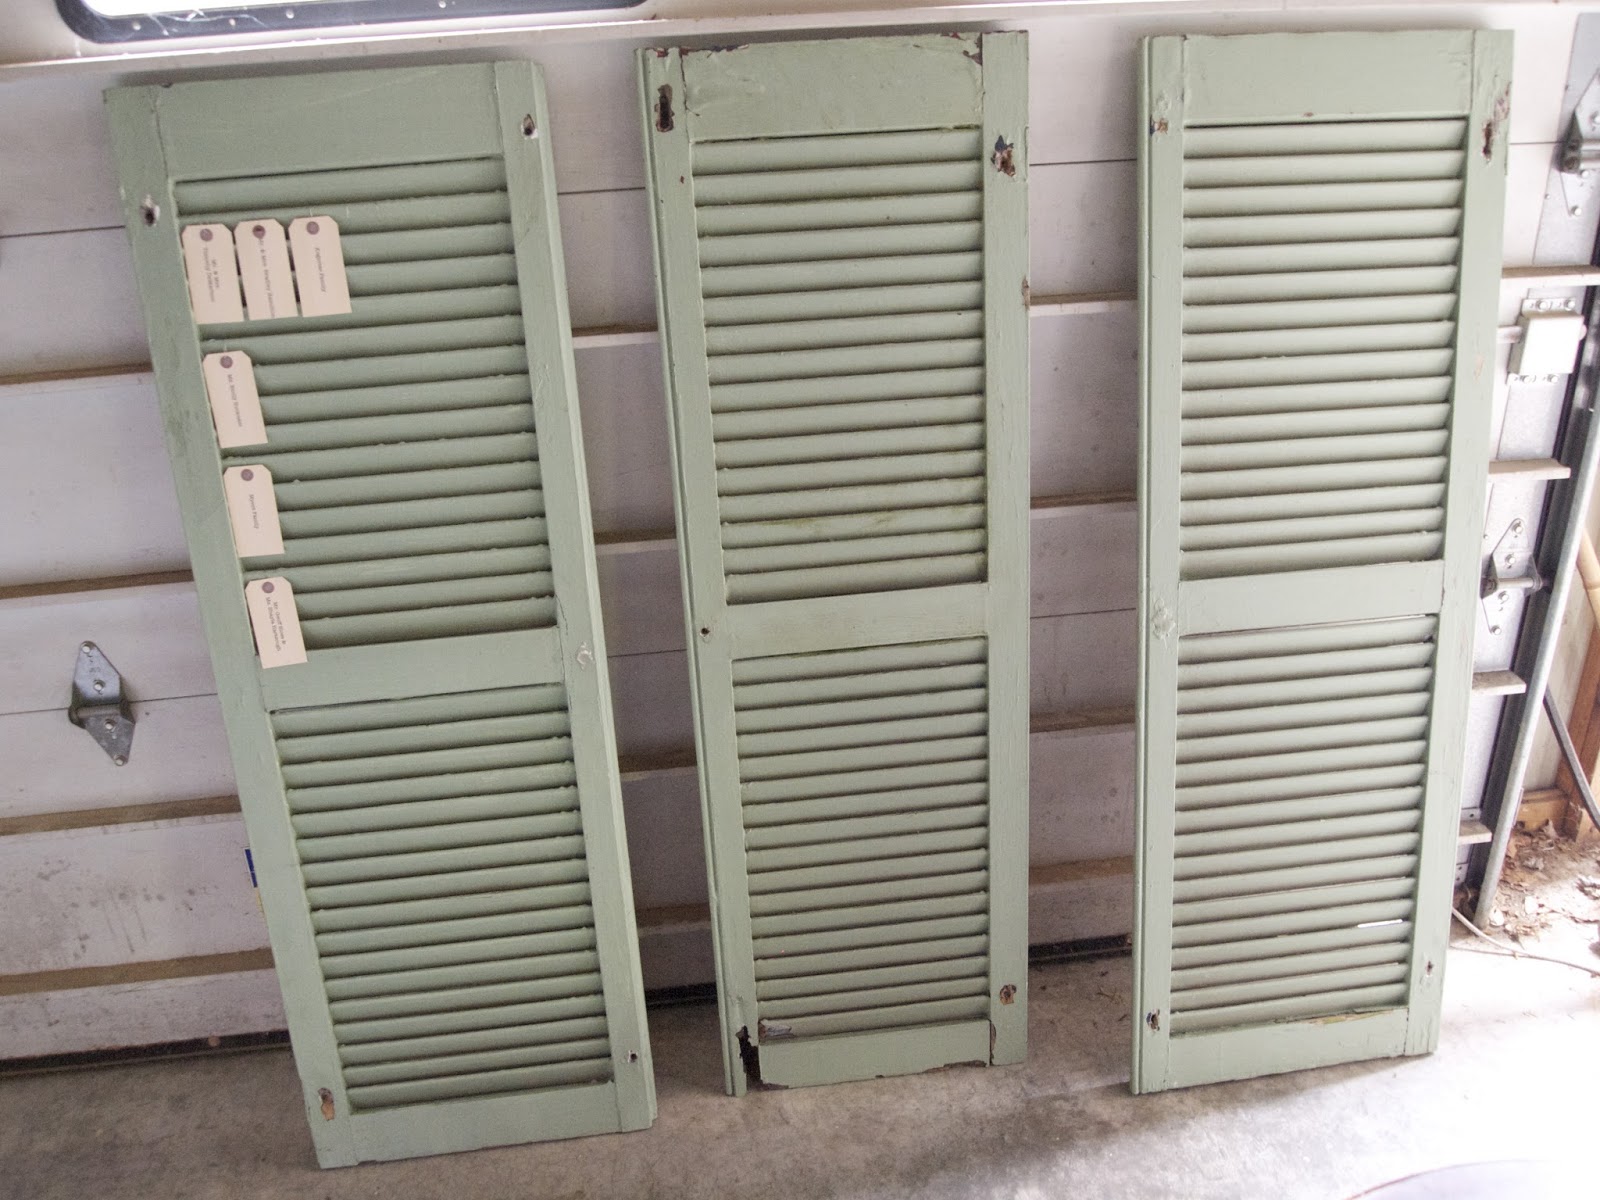
Our seating chart was pretty simple. We printed our guest's names on clear labels and transferred the labels to tags. We order Christmas ornament hooks off of amazon and used those to attach the tags to the shutters. My mom made the arrangements-she has the floral touch.


.ray.

Sunday, December 30, 2012

Easy Signs

Get vintage looking paper (or white) :)
Find a vintage looking font
Purchase a vintage looking frame
Now you got some neat little vintage looking signs


Then I personalized the signs with our stamp (etsy).

.ray.

Sunday, July 29, 2012

Preparing The Signs


The timing couldn't have been better! My parents had an old outhouse attached to their barn (made out of barn wood) which they decided needed to be removed. Not sure if it was for the good of the wedding, or if there was another reason for its removal, but nonetheless, I would have my barn wood. 

The bad:  someone had to remove it. The good:  I got legit barn wood for my signs.


I never knew Damon had it in him-but his sign making ability was astonishing!


.ray.

Table Numbers/Vases

I did the finishing touches to the table numbers and vases. I added the stickers from Michaels and added the pearls. The only thing left to do was to add the candles. I also pinned the lace around the mouth of each of the mason jars. 


.ray.

Bathroom Signs

I was inspired by Pinterest with a similar bathroom sign idea, but wasn't sure how I would execute it. I gave two pictures to Damon's dad and gave him little direction. Viola-Damon's dad came through! I added some scrabble letters and the bathroom signs couldn't have been more perfect.


.ray.

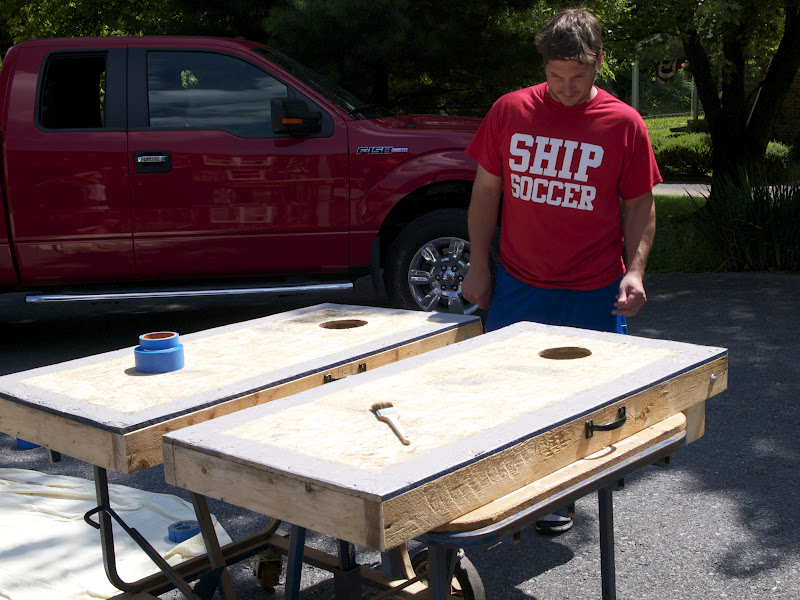
Corn Hole Boards

My Uncle made these boards for my cousin and very generously gave them to us-saving Damon some time-you know I was going to have him make these from scratch.

-He couldn't get out of painting them though :)


I ordered the bean bag sacks off of Etsy

FROM THE WEDDING:


.ray.


Chalk-boarding a Mirror

So chalk-boarding a mirror or glass couldn't be easier.
 Clean the surface and be sure to tape up the sides and spray away.
The spray paint I used was: Krylon, 12 OZ, Black Chalkboard Spray Paint.


We used the three chalkboards to do our menu, welcome sign, and a sign for down at the ceremony.


The teacher/bridesmaid was given the special privilege of writing the signs!


.ray.

Monday, June 25, 2012

D.I.Y. Invitations

You don't have to be a graphic designer or spend a fortune to make decent invitations. I am by no means saying my invitations are something to write home about, but it is worth a blog post.


I got these D.I.Y. invitations from Target on sale for $19.98 (originally $39.99) steal!
They weren't exactly what I wanted, but I knew they had the bones to what I needed. 


I then came across this posting a few months back. I plugged in my info and out popped a pdf file with all my information.


After fooling around with the paper settings and making sure to get it just right, I had myself an invitation suite.


I didn't like the original strip, so I substituted it with ribbon. 
This Fabri-Tac was really easy to work with.


I wanted to incorporate small tags to tie in my save the dates, so I used my stamper from my earlier post, to post "this" blog.


And you get the finished product. 

Hurry up! R.S.V.P.'s-are due back in a few days!

.ray.