Wednesday, November 2, 2011

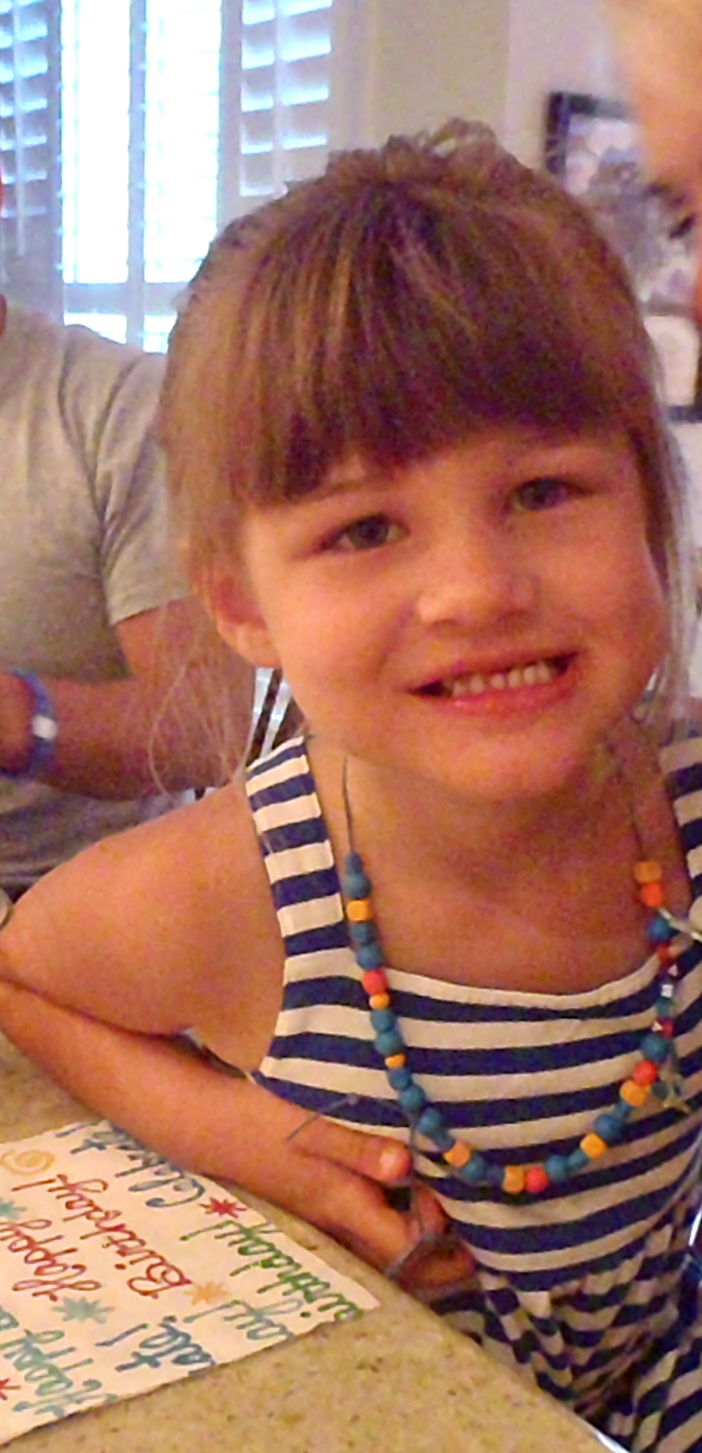
Oh, Charlie

Honestly, how cool is she??


Unfortunately, I think it is time for another haircut... :(

.ray.

Tuesday, November 1, 2011

Jess and Joe Are Getting Married!

Sorry fellas, another lady has been taken off the market...that lady being one of my best, best friends and one of my maids of honor-Jessy. Congratulations Jess and Joe on your engagement!!!!!


.ray.

Sunday, October 30, 2011

Happy Halloween!!!

So, Friday they canceled Halloween because of the rain and post poned it for Monday...

Before


After

First went the Heaths and Reese's, then went the Milk Duds, and finally onto the big bag of Milky-way, Snickers, Butterfingers, and Baby Ruths. 

My tummy hurts...and now I feel bad for our trick-or-treaters.
.ray.

Will You Be My Bridesmaid?


Inexpensive Vintage-Looking Cards


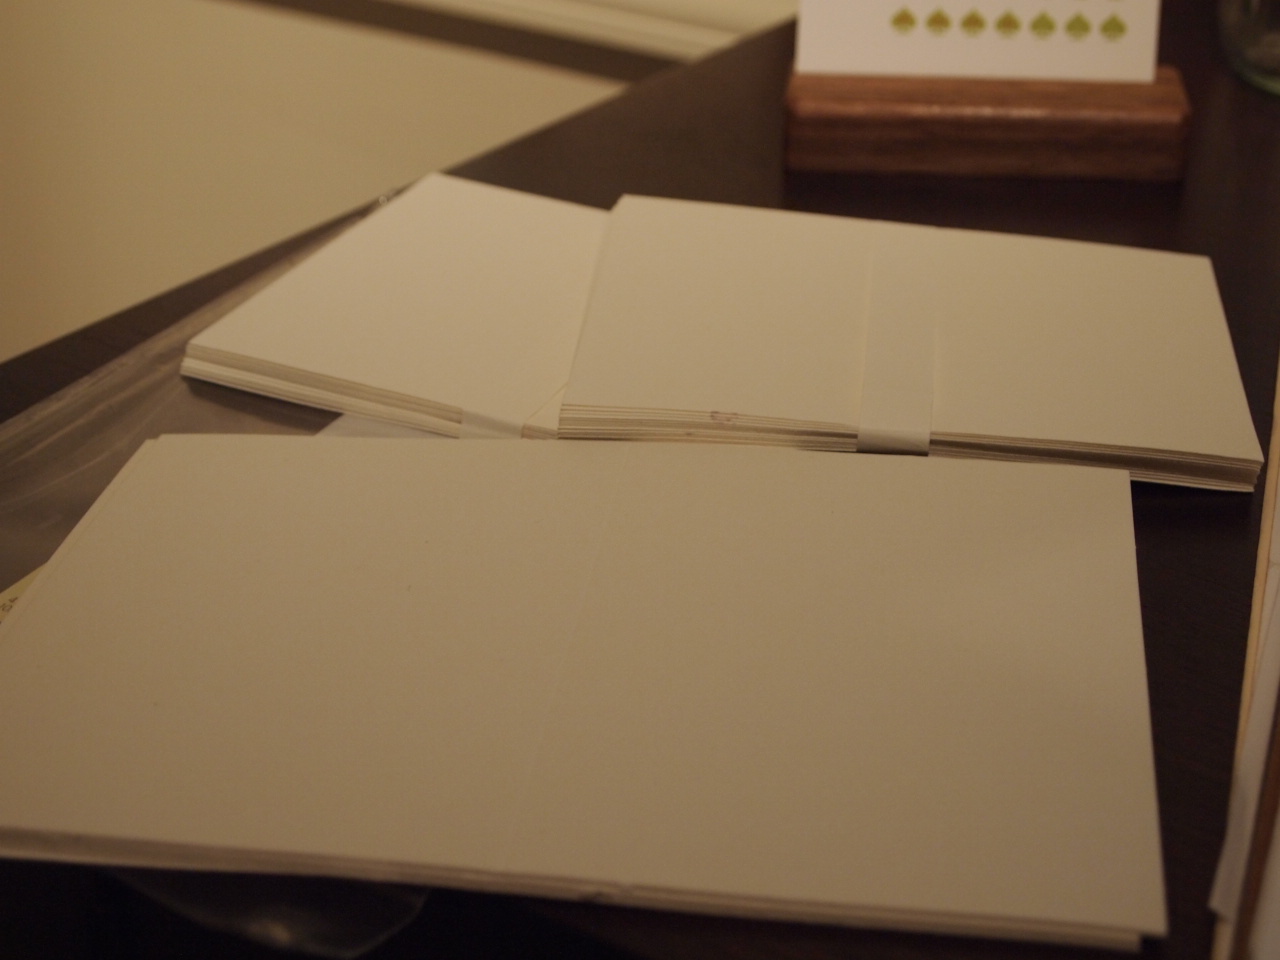
Now that I have officially asked all my maids and flower girls to be in the wedding, I thought I would quickly share my inexpensive and easy to make cards. 


I bought the cards and envelopes at Michaels.


I ordered this stamp from Paper-Source and got the ink from Michaels.


Go to Word, or something similar, and type away--the hardest thing is the spacing.  I used American Typewriter for the font. Do a few test runs on blank paper, and sacrifice one card to send through the printer until the alignment is just right. If interested, I can email you my template. You may not be getting married but "thank you" cards look great too!


.ray.


My Bridesmaids

I have traveled from Philly to State College to Pittsburgh and back to Harrisburg to ask my friends to be... 

My BRIDESMAIDS:

Jess & Lindsey
Beck
Ash
Meg
Alyssa & Emily
Krista

FLOWER GIRLS:
Sammy and Peyton


.ray.

Thursday, October 27, 2011

Snapfish


I don't know about you, but I have the hardest time finding a good place to develop pictures. Either the quality is just blah, the pictures are too glossy, the borders are cheesy, the...I obviously could go on forever.  I once visited this place, University Camera, in Iowa City. This may sound weird, but that one-hour-photo-developing experience has changed my life forever.  Ok, maybe not changed my life forever, but I did love the prints.

Let me explain...we, my friend Emily and I, spent a few days visiting our friend Alyssa in Iowa. The three of us spent a semester in Spain together--I knew you were wondering what the heck we were doing in Iowa.  Anyway, we spent a few days gallivanting the streets of Iowa City, snapping pictures here and there. Alyssa made the suggestion that  we get the pictures developed before we all went our separate ways, which lead us to University Camera. One hour later and Viola, we were opening our envelopes to see neatly white-bordered, and matte-finished photos. I don't know what it is about their developing techniques, but I was REALLLLY impressed with the quality prints they gave us. Ask Alyssa, she will attest to this place.  Since then, Alyssa has moved to Philly, but I do know she still takes an entire que of photos back there to be developed and I continue to be envious.

Developed at University Camera

Well envy no more! Although Snapfish is no University Camera, it comes as close as I have found and it doesn't require me to buy a plane ticket. Some of you may know about Snapfish, heck, maybe all of you know about Snapfish, but I used Snapfish for the first time and was quite pleased. I loved the quality: the colors were right on, it was matte just how i like it, and the white border didn't look too computerized. I didn't have to wait in any pesky lines to upload my pictures, and I didn't have to waste any gas driving there to pick them up once developed. The entire process was simple, you just sign up, load your pictures to the site with ease, and three days later they show up at your door. I even got free photos for signing up. If you are looking for an easy and fairly inexpensive place to do your developing, jump over to Snapfish.


My plan is to hang pictures of Damon and me around the wedding venue, and I can finally rest easy knowing I have Snapfish to do the developing. 

.ray.

Friday, October 21, 2011

DIY Tissue Paper Pom-Poms


POMS!!!
Another SIMPLE SIMPLE CRAFT!

Supplies
 Tissue Paper
Scissors
String


If you want a large quantity of tissue paper in a single color, your best bet is to order it online. 
Most party stores or craft stores only have a mixed pack of colors and don't have many different shades.


STEPS

Lay eight sheets of tissue paper on top of each other.  
Make your first fold one inch and continue folding an inch at a time in an accordion style. 

TIP: Make your folds on the shorter side, the ball doesn't form as nicely if your folds are done on the longer end of the tissue paper. 


After you are done folding the entire sheet, tie a piece of string in the middle.


With scissors trim the edges of both ends. You can cut the ends into a round shape or cut them into a pointy shape- i prefer the round.


Gently, separate the layers.


Complete the one side and then continue to the other side until a complete ball is formed.


Tie some string through the center and HANG!

You will see the poms debute at Alyssa's (Alyssa) baby shower in the coming weeks.

.ray.